Monday, May 2, 2011

April Showers

I rented a van to get all the stuff I have collected over the winter upstate, including 55 sheets of 1/8th’ luan sheets – 48” by 96”. For days before my arrival it rained, but on the day of unloading the sky cleared and Steve helped me hump it down to the cabin site. Thank you Steve! We also did some much needed trail repair, since we turned any trail we walked on into mud. Layers of mulch, followed by the largest, flattest rocks we could carry saved the trails.
The next week Larry got to come up and we powered out the interior. The reasons I went for 1/8th plywood were numerous: the cost, the weight (Steve and I had to carry it 1000 feet), small cabin means the thicker the walls are, the narrower the room gets, and ease of installation – I didn’t want to have to rent a generator to attach the ply to the frame. I did use, with much success, a staple gun that also shoots brads. With two of these and utility knives to cut the ply, Larry and began and finished the job in 2 days.


The chandelier that had been gifted by my good friend Tom - I have it on a pulley system to lower and light at night.
The second floor ceiling - decided to do the extra work and leave the rafters exposed.
Next up is the molding!

We also took the time to repair the second window – the sight of the fields, woods and sky are lovely. This is my TV!

We took many breaks to sit and enjoy the view.
The water is running in the creek!


By the end, we went back to Larry’s shop and chose a walnut slab to cut down to make into window sills.


future window sills!

April, come she will

Okay – who remembers that Simon & Garfunkel song! But April has come and gone,as well as warm weather and a lot of rain and mud. It has been a busy month and I want to catch up - what better time than mud season to build an outhouse, deliver sheets of material (thank you Steve and Vanessa!), and clad the interior with siding (thank you Larry!).

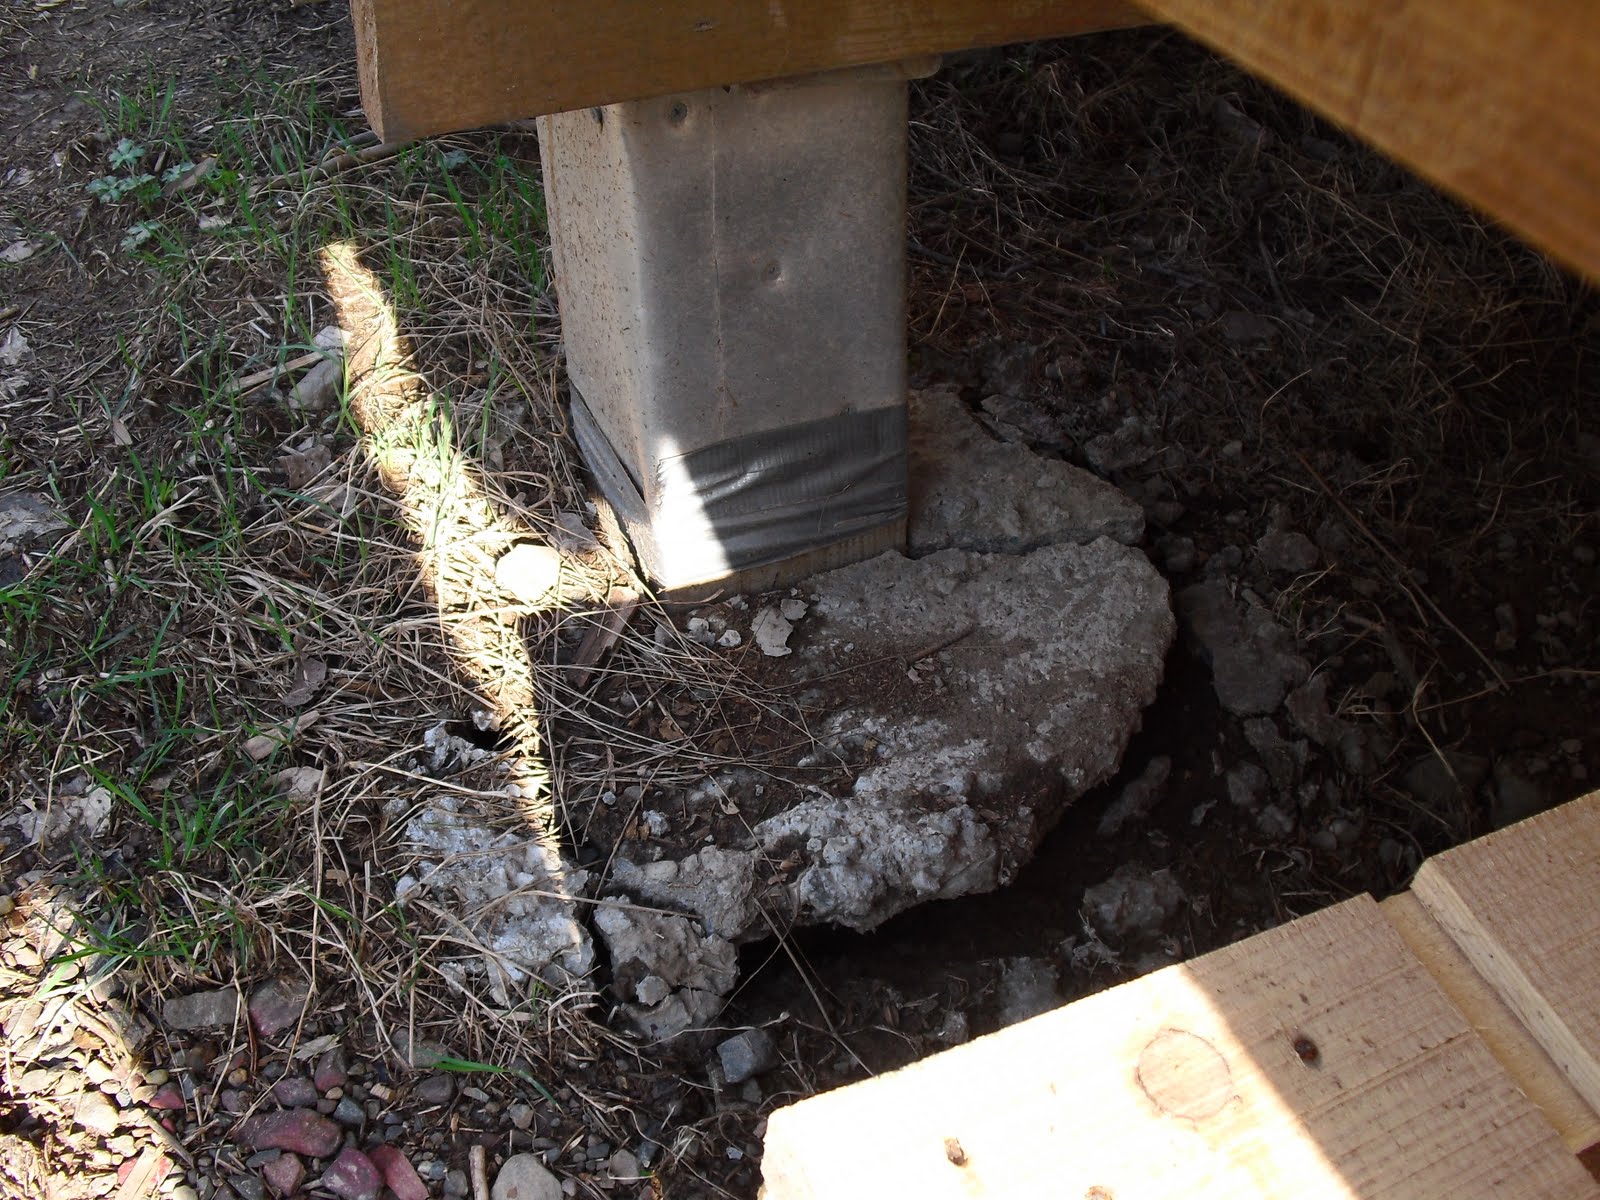
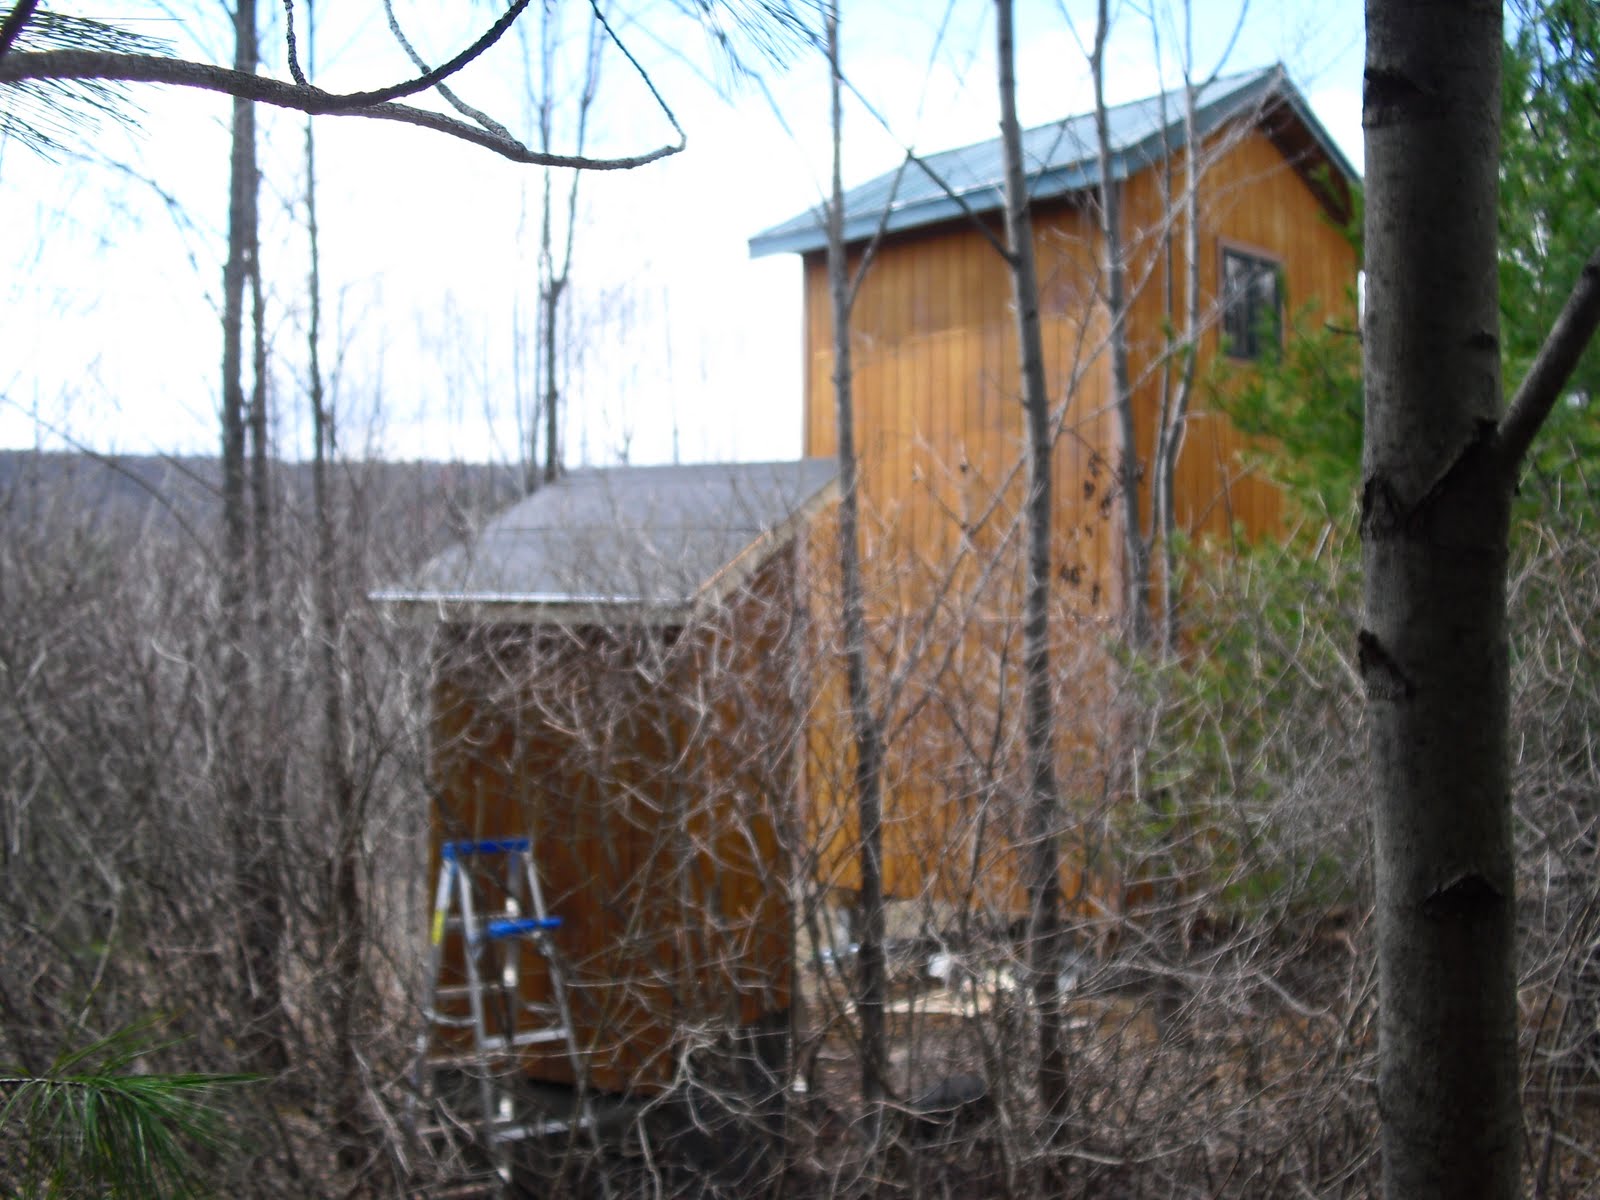
The cabin has survived nicely. The footings have cracked through frost heave, but the cabin itself is standing firm – everything is as level as when I first built the place (I think). I have a company that will dig deeper and better post holes for me, but I am still on the fence as to whether or not I will do it. If you have had any experience with this, I would love to hear your opinion.


First I decided to build the outhouse – this one closer to the cabin so guests don’t have to go as far as they did. Like the first one; this is a Moldering Privy with plans from the Appalachian Trail Conference. http://atfiles.org/files/pdf/atcsanitation.pdf .

The 6 by 6 laid in and tied together with rebar, hence the sledge hammer.

Screened in with both hardware cloth (AKA ¼ “ chicken wire) and window screen so no bugs, varmints, or snakes can enter.


Framed out with 2 by 3’s. We will see how long they last!
Covered with the extra T-111 plywood from the cabin.

Roofed over with ¾” flooring OSB and roofing paper, also left over from the cabin build.


Treads laid in. The interior and the door have yet to be installed.

I’m glad I built this before all the bushes bud out. I’m hopeful that as they do the surroundings will hide the outhouse more. For the first outhouse, I used a privy shelter.


This has been up year round for two winters and is standing up to the elements just fine. I am hoping that that the wooden structure will be more spacious and comfortable – it took a lot longer to build!

Monday, February 28, 2011

plan 2011

As well as the annual tree planting (might be tree tending this year - date to be announced) Hope to finish off the interior of the cabin, add a second outhouse (because I always wanted to say I have a two loo cabin!) and whip up some decking:

Saturday, January 22, 2011

This was waiting for us when we reached the cabin -


The ladder got in with the help of my friend Mike – the two of us bravely fought the royal battle of the arctic air to raise the 16 foot ladder to its rightful place into the heavens… Oh, sorry, been reading too many books written during the hey-day of British Imperialism. Imperially or not, we still got the ladder in place and it is a pretty nice thing. The banister is still a work in progress; I will probably make it shorter at some point; and both the banister and the ladder will get a coat of oil when it is warmer.
In case you are wondering, the walls are getting done in the spring.

from the first floorfrom the first floor
continuing into the second floorcontinuing into the second floor
looking down from the second floorlooking down from the second floor
More snow had fallen since I was last there, so we parked in a neighbor’s driveway and climbed over the 6 foot snow bank blocking my driveway.
Mike and I planned on spending a night in the cabin, so we loaded up the sled with food, water and wood to burn. We had to make a couple of trips with the sled, which worked great – most of the hike in (a bit less than a quarter mile) is a gentle slope downhill, so sometimes it felt like the sled pulled us.


I had bought snow shoes on ebay thinking they might be handy, but there really isn’t enough snow yet to bother. I did use them, and it seems to keep me from going too far down in the snow, but again, the snow isn’t deep enough yet to warrant wearing them.
It was cold, but not terribly; in the 20’s in the day and the teens at night. After a few hours the new heater worked well enough that we could start peeling off most of our layers and hang out inside, in comfort!

We spent most of the time inside enjoying the view out the windows; it snowed lightly overnight, but not before we watched the moon rise.


By the end of the stay we started to fool around with floor plans -


to be continued!

Sunday, January 16, 2011

Winter - what a better time to build a ship ladder


Each winter I have some extra time to go to a friends house and play in his unheated barn/workshop. Like last year, I prepped lumber for a privy, but then I also decided to whip up a 16' ships ladder. My friend Larry and his son Max were a great help & I couldn't have done it without them.

The lumber yard out by Larry is pretty limited, so we took some regular 2 by 6 yellow pine and trimmed them down to 5/4 by 6 - this would hopefully make a more graceful shape. We then sanded everything down, cut the steps to 18", marked and routed both rails of the ladder, shoved it all together and screwed it all in. Larry has a full shop, so making this happen took just one day - it would be impossible to have done this on site!

Larry then tied the beast to the car (thank you rent a car company!) and I drove 4 hours through snow squalls back to my cabin. Of course I didn't think about getting the 700' driveway plowed, and there was too much snow to drive in, but I could use the rails as ski treads and I simply pulled the ladder over the snow to the cabin.

Squeezing the 16' ladder into a 12' square cabin (11' square inside!) was an absolute challenge and that task took almost as long as building the ladder. As of now it is not quite in the position I want, but it is in the cabin. It is taking up all the space in the cabin, as it runs diagonally across the cabin - from corner to corner and floor to ceiling! But I'll fix that soon, and hopefully have more pictures.
askew ladder

Thursday, October 14, 2010

more fall foliage

And of course, no camera!
It was spectacular, really. The first dawn inside the cabin we looked west over the brilliant fall foliage as the clear purple sky went to pink as the sun rose. The pure pink next to the golds, yellows, oranges, reds and greens of the foliage blazing in the morning sun was breathtaking and a bit strange too - not a color combination often seen in nature!

The cabin is in fine shape, we finished framing the windows and the door, so it really is nice and snug inside. The first night was mild (40's) and we could heat the cabin with our 12 candle candelabra (thank you Tom!)
The next night was a different story, it was windy outside and cold - I think it went down to 28, but the kerosene heater did the trick. The cabin was warm in 10 minutes, and downright hot in 60. In the morning there was frost on the ground.
I bought the kerosene heater because it sounded good and the price was right, but in retrospect it was foolish because now I need yet another fuel source - gas for tools, gas/oil blend for other tools, propane, tiki lamp fluid and now kerosene to add to the mix. Plus the kerosene stinks. Not while it is on, only when you first turn it on and when you first turn it off. Which is two times too often.

Wednesday, October 6, 2010

the door is here

I don't remember if everyone knows about the door, so a brief recap: After deciding to build the cabin, I wanted French Doors and found a set on Ebay. Advertised as Triple Pane glass in perfect condition, I thought I got the deal of a lifetime when I purchased them for $100.00
Then I realized they were in Maryland. I don't live near Maryland. I live two days away from Maryland. This wasn't good.
A really, really, long story short: I got lost, so it took 3 days to get the doors, re: hotel;I was in a fender bender; the doors weren't perfect and I needed to refinish them (the seller "improved them" after the sale) so they ended up in my friends shop in PA., where I decided to split them in two. The shop in PA? About an 8 hour round trip from the cabin site. What was I thinking! I don't even want to do the math on what these $100 doors really cost!

A good friend and owner of said shop in PA (Larry) brought the door out to the cabin site yesterday. It's been raining for the past few days, so everything is wet.
The door slipped in like a charm; that's when we remembered the door hardware was back in the shop. Oops.
Because of the rain , we ditched into the cabin and decided to insulate. I was thinking of using the non-fiberglass stuff, but the only stuff I could find (at Lowes) was 3X more expensive than regular fiberglass insulation. After the cost overrun's on the door, I chose the less expensive option!
Here is the insulation:
It wasn't nearly as scratchy as we remember!

The door; because of the gray and rainy day, the color is off.

And what else can one do on a cold and wet morning?

Monday, October 4, 2010

ohh the excitment!

The roof, the roof, the roof!


Bill and Joe finished the roof before the deluge hit, and I got to see what a great job they did! After near tornado like wind and rain conditions, the cabin was dry dry dry, except for a couple minor points. These were no problem to fix and a great way to see that the roof is watertight.

Here is a view from the second floor:


Fall is here and the foliage is great - here are some pixs:


Up next; the door!

Sunday, September 19, 2010

The roof!


With Fall fast approaching, the roofers came in!
Being back in school and teaching, I have no time to do this myself. Bill and Joe are two excellent guys who work fast and clean. The way the installed the roof was very impressive. 1 sheet of plywood, cover with tar paper, cover with metal roof, then on to the next sheet of plywood and continue.
So much easier than what I was planning, which was to cover the entire roof in ply, then the entire roof in tar paper, then finish the roof in metal.
They will be back up Monday to finish the job!

Friday, September 10, 2010

to paint - sprayer!


quick note -
When everyone- on the web, in person, everywhere - says using a paint sprayer is the way to go - believe them!
Tried painting with a roller and quickly realized the futility of it. Rented massive generator & sprayer- 2 coats done over 2 days - the second coat took less than 2 hours!
It's not a perfect paint job, but it sure looks good to me!
And I still hate ladders!

Wednesday, September 1, 2010

distance

With time away, I have gained a bit of perspective.

As much as I love this little cabin, there are some things I would do differently.

1) Keep to 1 story. Who knew I was afraid of heights? I didn't until I got up there. Plus it saves $ not having to buy humongous ladders, which I will probably want to build a shelter for.

2) Figure out how long it will take, and multiply by 2. Then Multiply by 2 again. And maybe again. And again.

3) Really think about how important it is to be off road. Walking stuff in is great exercise and will keep me from bringing gigantic stuff into the cabin, but I went through 6 roofers before I found one who would agree to walk to the site.

4) Buy a generator. I used battery powered tools for the most part and I thought that was fine until I used a generator. The generator was so sweet that I rented it more than I really needed it.

5) Don't even try to charge tool batteries off your car battery, wait till you get to an outlet. After burning out the car battery twice (I'm not real bright) I would try to take long drives each evening to recharge the batteries. So-so for the battery, wiped me out.